Showing posts with label d.i.y.. Show all posts

Tuesday, January 29, 2013

Fairy Terrarium

terrarium9

My Mama loves looking through magazines to find inspirations for DIY's...for me.  She knows me so well, doesn't she?  Well, I guess while going through old Martha Stewart Magazines she saw a pretend terrarium with a fairy inside.  Perfect for a gift for one of my favorite little girls!  I found it pretty easy too as long as you have all of the materials.  Plus, you can change it up to any kind of terrarium that you want.  I can see this being a great present for anyone.  Just find the right things to put inside!

terrarium1

Materials Used:
glass container with a lid (or plastic)
styrofoam disc 
artificial moss
plastic figure
various rocks
artificial flowers
artificial butterflies
newspaper for work area
E600 glue - not pictured
double pointed pins - not pictured

terrarium2
I glued the Styrofoam base on the bottom of the glass container.  It dented as I was putting it inside, but that's ok since the Styrofoam is going to be covered anyway.

terrarium3
I glued the rock on the Styrofoam and stuck the twig with a little bit of glue onto the Styrofoam.

terrarium4
Then, I glued the artificial moss and covered the Styrofoam, making sure that it is completely covered as well as the nooks and crannies and around the Styrofoam.  I used the double pointed pins just for extra security.

terrarium5 
Since my plastic figure is sitting, I placed it right on the rock.

terrarium6 
I added the rocks, flowers, and butterflies with glue.

terrarium7 
I glued the cover of the container.

terrarium91

I hope you enjoyed my little tutorial.
I think I'm going to be making more of these.  Such a great way to personalize a gift.
Let me know what you think!

Thursday, December 13, 2012

Handmade Cozy Holidays

I wanted to make something that I've never made before that would be useful and cute.  Because I have so much time in my hands, right?  When there was a blogger meet up scheduled last weekend, I thought up of making some mug cozies for my bloggy friends for the holidays.   Even though the mugs were festive with snowmen and snowflakes I wanted to add some more pizazz to it with the mug cozy. What do you think?
mugcozy2mugcozy3mugcozy4
 I might have to make some more for some folks on my gifting list!  It's definitely a fun way to "dress up" a mug with a cozy sweater perfect for some hot cocoa, coffee, or tea.  Are you making any handmade gifts this holiday season?   

Wednesday, July 18, 2012

Let's Go Brunching

Time to meet up with some friends.  One of my favorite times to meet is during the weekend for brunch.  Something with the time of the day, or being able to have some mimosas makes it a wonderful time to chat it up and make some new memories to talk about for the next time.  I thought I would make a little outfit with my mustard clutch that I made a few months ago.  Let me know what you think.  Do you like to brunch? 
Let's Go Brunching


J.Crew three quarter sleeve dress / Luxury Rebel platform wedge / Maison Martin Margiela snake jewelry / Lauren Ralph Lauren ralph lauren jewelry

Tuesday, July 10, 2012

Here Birdy Birdy

If you've been keeping up with my posts, you may already know that I love joining craft exchanges.  Especially the Craftaholics Anonymous Craft Exchange Summer 2012 hosted by Linda of Craftaholics Anonymous, who's relentless efforts always make the experience truly worthwhile for all of the participants.  This time, she's joined forces with Elfster to make the craft exchange event go smoother.  Imagine trying to match up hundreds of crafters out there with email address and mailing addresses?? Hello?! That is a job in itself.  Elfster helped her out a little bit with this event, and I think it went pretty well...well enough that I'm excited to join the next one!

My craft exchange giftee loves birds, bird houses, and accessories.  I wanted to incorporate some sewing and crocheting in my gift.  I made a hand sewn bird from the Spool Sewing website and added my own addition of the legs with floral wire.  I like how it turned out since it's able to stand on its own.  It was a pretty easy project so I made another type of bird, this time with my own owl pattern.  I added a loop on top so that it can be hung as a decoration or even an ornament.  I also made her a "delachic" signature necklace with a crochet covered wooden bead on a silver plated chain.  My giftee was very excited to receive her package and so was her little daughter!!! Mission completed!  

Big shout out to the lovely Linda of Craftaholics Anonymous who single handedly organized another successful craft exchange.  I'm down for the next one coming up in November.  If you'd like to participate or see what others have crafted for their partners, please check it out and you can even get an email reminder when it's coming up!!

Sunday, November 20, 2011

The Handmade Tree

Since it's autumn and almost Thanksgiving, I was inspired to make my own handmade tree with re-purposed tree branches that have fallen on the ground from the wind and the past storm.  I thought it would be handy for displaying all sorts of great decorations that will make my home a handmade festive extravaganza! 

Materials:
several twigs or as many as you want
plaster of paris
cup or your chosen container
water
something to stir the plaster (I used a fork)
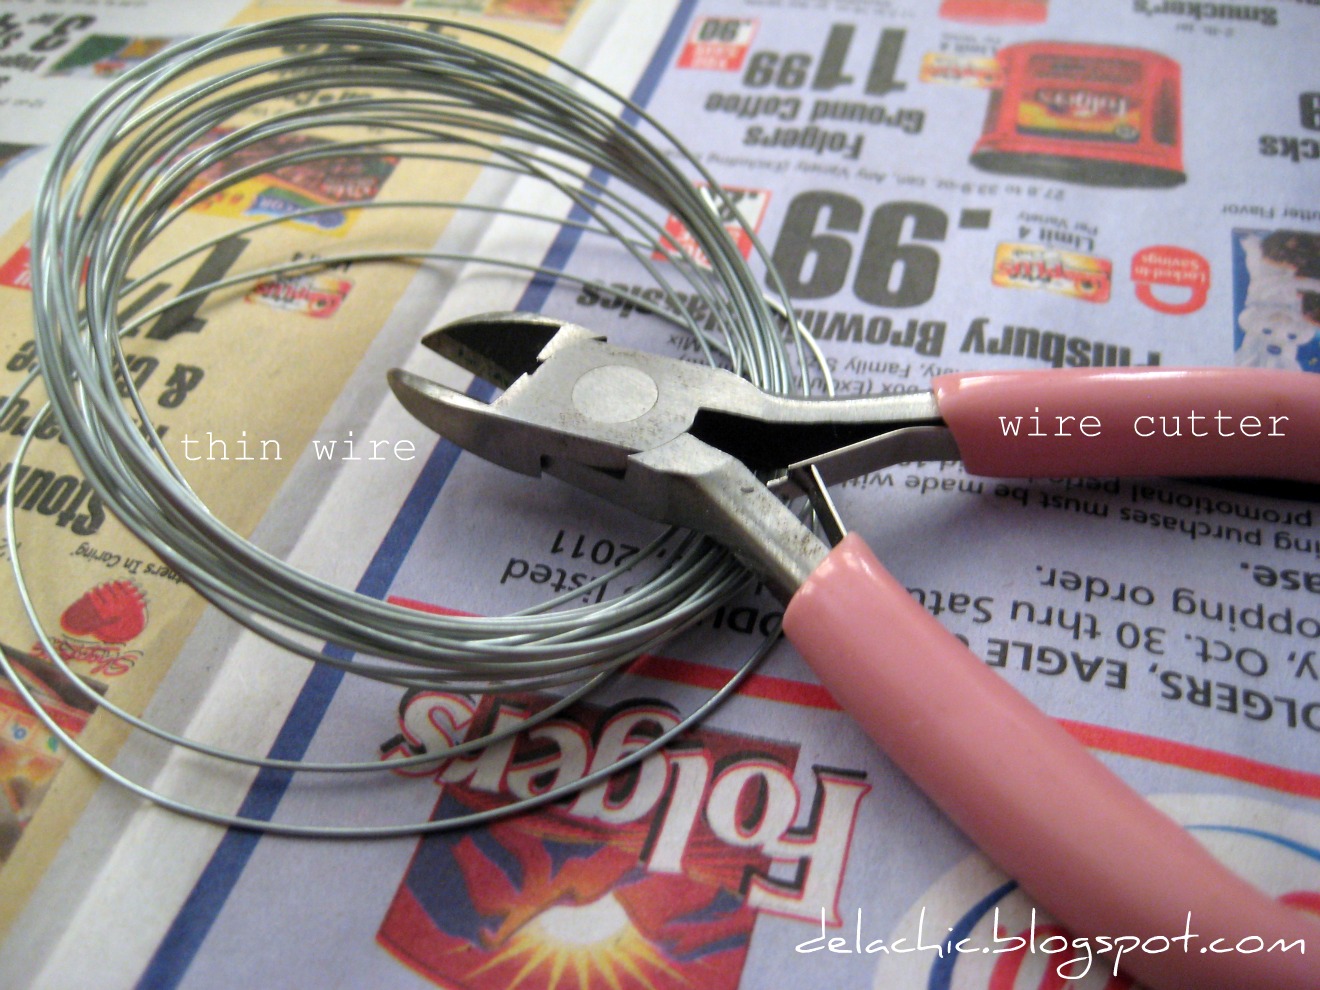
wire & wire cutter if you have more than one twig
pencil or crochet hook
2 paper clips
scissor


Gather your materials in one area because it is just easier.  
Make sure to cover your work area with newspaper for spills and splatters.

You might be asking why you'd need a pencil or crochet hook.  Well, it doesn't necessarily have to be
exactly a pencil or crochet hook.  It's just what I had in the house that worked.  The crochet
hook/pencil will help your tree stand up straight in your hardening plaster.  You can also use a
chopstick, another twig/branch, or if you want to hold it up yourself for a few hours.
  
If you have more than one twig/branch I would recommend using thing wire to wrap the branches
and to keep them still as the plaster is hardening.  Of course if you have wire, then you would
need some wire cutters.

Gather the branches/twigs that you want to use for the tree.  You may want to move it
around so that you get the shape that you want.

I wanted to make sure that there were enough branches on all sides, but that's my preference. 
You may want your tree to look different.  Keep in mind that if you will be using your tree to
hang decorations, you may want your tree to be almost symmetrical so that the weight of
the decorations are distributed evenly once they're up.

Once you have the shape of your tree, use the wires to keep the branches together at
the bottom.  Now that you have your "tree" ready, put it on the side for now.

Put the plaster of paris powder in your container.  The plaster of paris/water ratio is two to one,
so here I used 1 and 1/2 cups of plaster of paris. Make sure that your container is appropriate for your twigs or branches.  The more or longer your branches are the bigger the container should be,
and that there should be more plaster of paris/water used so that it is proportional. 
Or else your tree can fall easily.

Add the water slowly.  Here I used 3/4 cup of water.

I used the end of the fork to stir the water/plaster of paris mixture.

The mixture should somehow look like pancake batter.  If it is too thin and watery,
just add a little more plaster of paris in the mixture.  If it is too thick, add some water.

Put your tree in the middle of your container in the plaster.

Put the clips on two sides of the cup.  Use your "holder" and place it between the two
clips and the tree.  You can certainly use a pencil or chopstick instead.  Whatever works.

The toughest time is waiting.  Depending on the size of your container,
it may take several days until the plaster sets.  I waited a whole week until I took my tree out of the cup.

Once it's time to take the plaster out, cut the cup with scissors and make slits going down toward the plaster.  Make the cuts about an inch apart going around the cup.  Then, gently pull down the slits and peel the cup off from the plaster.

Trim off the excess plaster on the edge to have an even base. 
This can be easily done by cutting the edges with a scissor.  Easy peasy!
Et voila! So many possibilities!

Hope you enjoyed this tutorial
Go make something!
XOXO
C

Thursday, November 10, 2011

Thursday Inspiration: Handmade is so much better

Did you start making homemade gifts for your friends and loved ones?  Still stumped?  You don't need expensive craft tools and supplies to make something special, nor do you need to master sewing, knitting, or crocheting.  All you need are your hands and maybe some other things that you may already have handy at home.  There are so many.... numerous....no.. millions of things you can find at a craft store that are already pre-cut, pre-made...and all you need is glue...you do have some glue, right?  Well, I kept this Thursday Inspiration a continuation from the last because I know you can make something for someone this holiday season.  If you've already started your holiday crafting please feel free to post and share what you're making.  Don't worry I won't tell.  If you have any questions about "how to" make something, go ahead and ask because I may be able to answer, and if not, I may know someone who knows someone...who does.  In the meantime, here are some cute and great ideas that I think some of you might like to try.  Hope that they spark some creativity!

Happy crafting!
XOXO
C

Everyone loves yummy goodies, especially cute ones that are packaged so nicely:
 
Marshmallow Snowmen
Source: flickr.com via Lilian on Pinterest


S'mores Kit
Source: shop-fancythat.com via Lauren on Pinterest

Hot Chocolate Packages
Source: flickr.com via Rosemary on Pinterest

Handmade packaging adds so much more to a gift, don't you think?

Handmade Envelopes
Source: sweettidings.blogspot.com via Katharina on Pinterest

These are just really too cool to pass up.

Twig Candle Holder


Rope Bracelet


Painted Bottles


Satin Cord Bracelet

Thursday, November 3, 2011

Thursday Inspiration: Handmade Gift Giving for the Holidays

It's the season of giving.  Can't believe it's already that time of the year.  Around this time I usually like to make handmade gifts for my family and close friends just to make their presents a little extra special.  Giving someone a handmade product does take time, but it just means so much more because of it.  Will you be making handmade goodies for the holidays this year?  I can't even tell you how long my list is, but hopefully the recipients will like what they get. 

There are so many tutorials out there if you're willing to take the time to make something for someone, so you should start now!  I actually wished that I started "making" in July!
Here's a list of some of the great sites online with with great gift ideas:
 
                                                Source: easymakesmehappy.blogspot.com via Heidi on Pinterest

Monday, August 22, 2011

I Heart CT!

I saw a post on Pinterest and thought it was a perfect project for me to create.  Instead I wanted to make one with the state of Connecticut with the heart in the New Haven area.  I then saw an easy tutorial on I'm a Mom not a Professional which pretty much was a piece of cake, plus I had all of the materials handy already.


This was a very easy project, and it wasn't so costly.  A perfect decoration in a home or even a gift! Try it with YOUR state, or even a country.  I plan on making one of the Philippines and Korea.  Will post them when I do!


Go make something!
C

Related Posts Plugin for WordPress, Blogger...