I've seen the doily ball tutorial on Pinterest. I went searching for crocheted doilies at thrift stores and craft stores, but honestly I didn't want to spend more than a dollar for a doily since I needed a few to cover a balloon. As much as I love to crochet, I wasn't sure if I wanted to crochet my own doilies since I was pressed for time. The best wallet and time friendly way to make something similar was to use lace instead. Luckily I just happen to have lace already as well as other general supplies needed for this project.
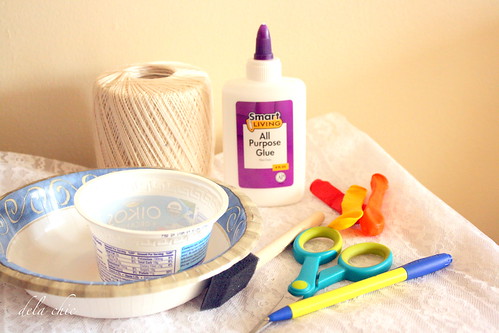
Materials: lace fabric, bowls for template/glue container, balloons, foam brush, pen, string, glue
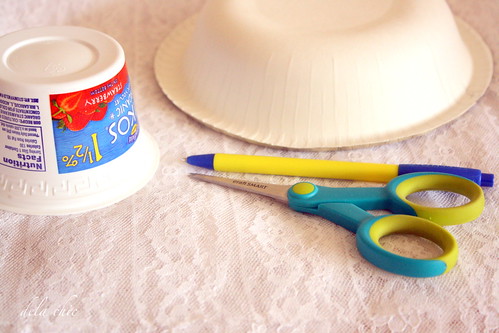
Draw and cut circles from the lace fabric with the template.

Cut several sizes for variety. You can certainly have one size circles if you want.

Blow up the balloon and make a knot at the opening.

Tie a string.
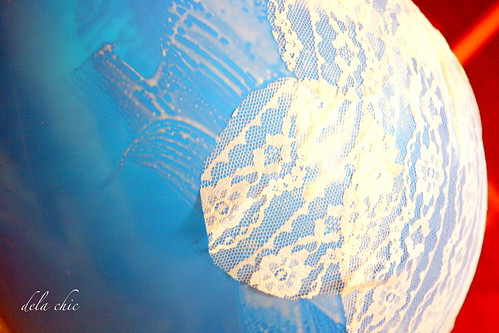
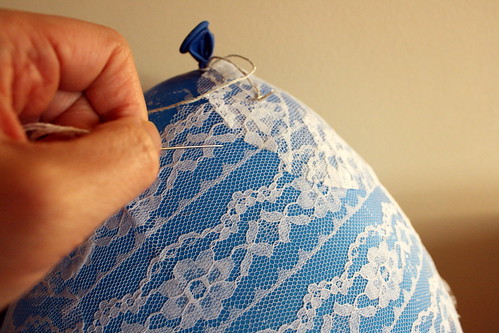
Slather on glue on the balloon first then apply the lace. Add more glue on the lace.
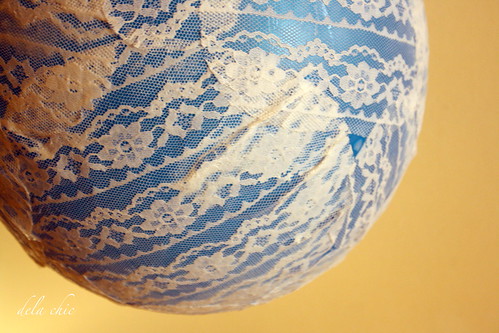
Overlap the edges of the lace circles. Make sure that there aren't any huge gaps. Continue until
the whole balloon is covered except for the area where the knot is.
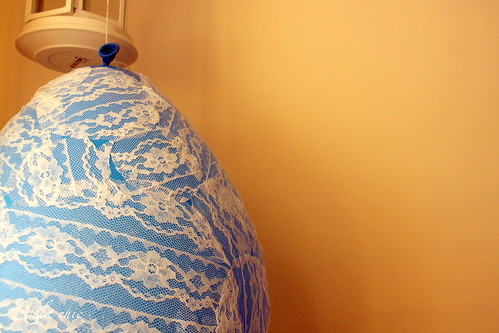
Slather on more glue after the whole balloon is covered with lace just to ensure that the
lace ball will be stiff once it is dry. Then tie the balloon somewhere and let dry for at
least 24 hours.
After you've waited at least a day, it is time to pop the balloon. Take out the deflated balloon
from the top hole that you left.
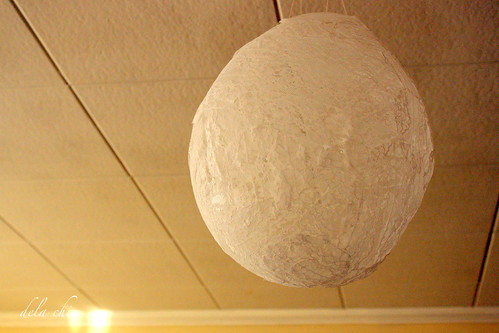
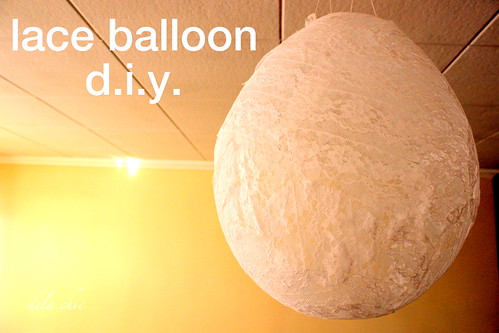
Poke holes if needed and attach string, then hang the dainty lace ball.
Wouldn't this be so pretty for a vintage inspired party or maybe for Easter?
Another variation would be tea staining the lace before using it in this project to give it a vintage/old feel to it.
Happy Friday folks and hope you have a great weekend!

Materials: lace fabric, bowls for template/glue container, balloons, foam brush, pen, string, glue

Draw and cut circles from the lace fabric with the template.

Cut several sizes for variety. You can certainly have one size circles if you want.

Blow up the balloon and make a knot at the opening.

Tie a string.

Slather on glue on the balloon first then apply the lace. Add more glue on the lace.

Overlap the edges of the lace circles. Make sure that there aren't any huge gaps. Continue until
the whole balloon is covered except for the area where the knot is.

Slather on more glue after the whole balloon is covered with lace just to ensure that the
lace ball will be stiff once it is dry. Then tie the balloon somewhere and let dry for at
least 24 hours.

After you've waited at least a day, it is time to pop the balloon. Take out the deflated balloon
from the top hole that you left.

Poke holes if needed and attach string, then hang the dainty lace ball.
Wouldn't this be so pretty for a vintage inspired party or maybe for Easter?
Another variation would be tea staining the lace before using it in this project to give it a vintage/old feel to it.
Happy Friday folks and hope you have a great weekend!

5 comments:
Christine that is such a cute DIY - love how it came out!
Annie
The Other Side of Gray
so cute! can you put a light in it and use it as a lantern; wouldn't that be so pretty?
Chic on the Cheap
Oh wow, that is so cool!!! And Lydia has an awesome idea, that would be a beautiful lantern! :D
http://www.closet-fashionista.com
I'm impressed the dollies didn't stick to the glue and came off so easily! LOVELY!
Very pretty. This is a great DIY. Maybe me and Jessica can do some of these for our other sister's wedding shower.
Tracy @ Sunny Days and Starry Nights
Post a Comment